Vintage Tile Cleaning and Restoration - DIY Guide
Anyone lifting an old hallway carpet in a Victorian house for the first time does so with anticipation, and possibly a pleasantly increased heart rate. The hope, that lying hidden beneath a once popular choice of floor covering is the original article.
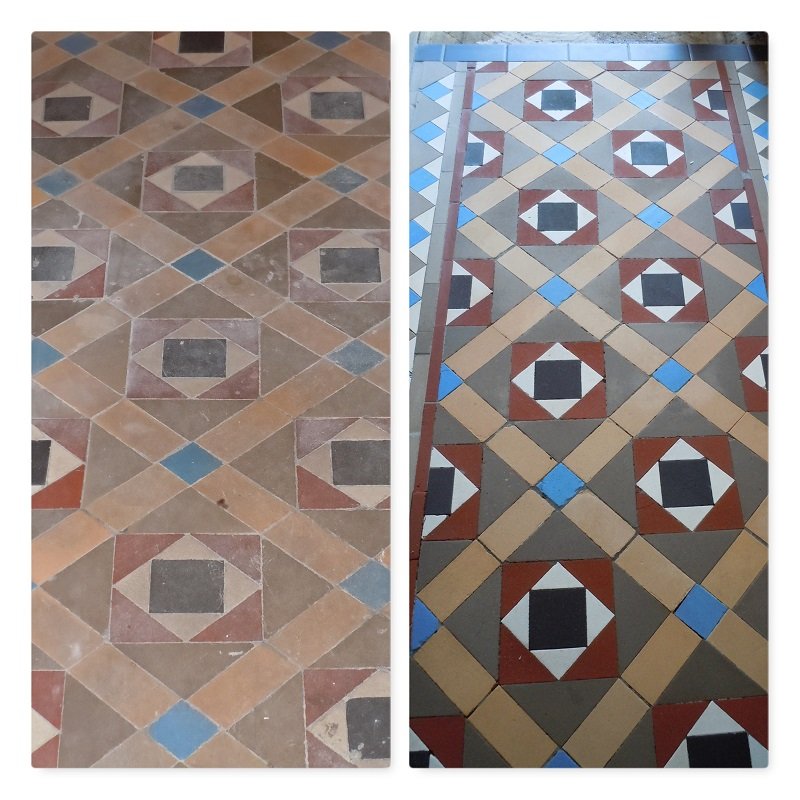
Expectations are raised if the edge reveals the Holy Grail, the original vintage floor tiles. Excitement may wane slightly as the majority of original tiles will have suffered a certain amount of wear and tear.
The challenge of restoring them to their former glory was possibly too much for a previous occupier.
However, present residents see the challenge as a fantastic opportunity to love a house that has served generations. The challenge ahead becomes a labour of love, and taking on that challenge will undoubtedly require a lot of labour and plenty of love.
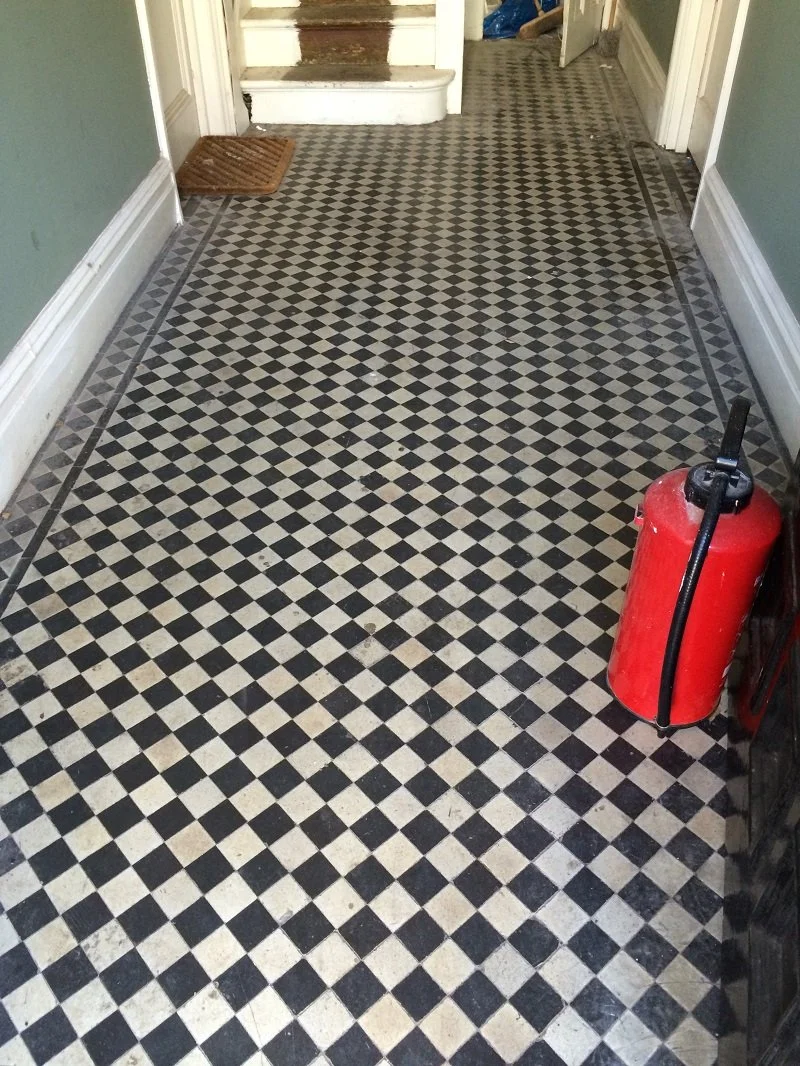
Over the years, the original practice of scrubbing tiles on one’s hands and knees has lost its allure. Soiling would have penetrated the porous surface of the tile, and old coverings like wax or sealants would have degraded and broken down, allowing the surface to become impregnated with dirt.
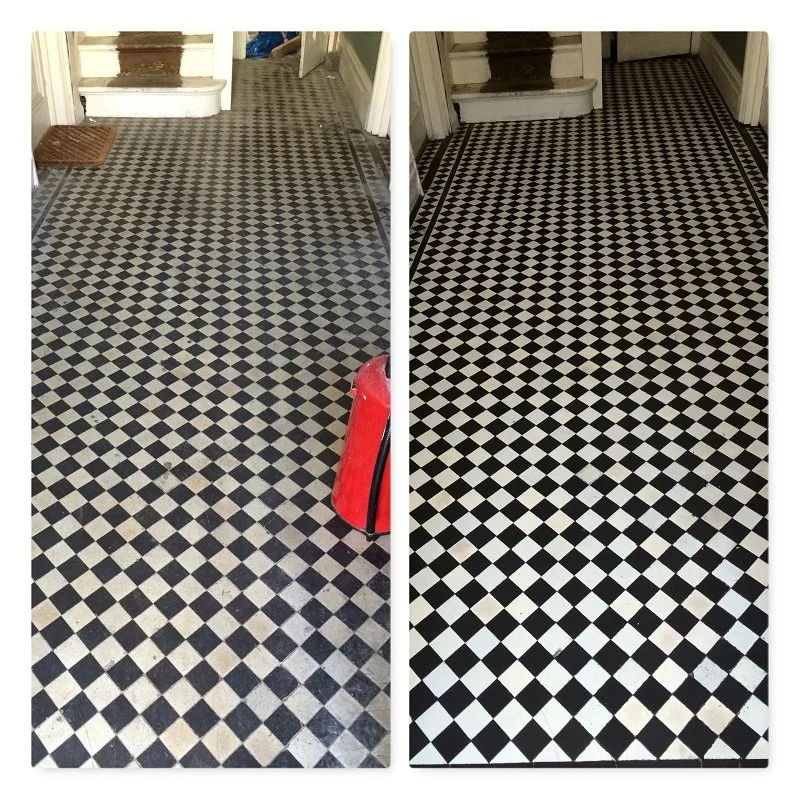
As shown in the photo below, a deep tile clean is required when the surface appears dull and soiled. Often, building works add to the ingrained mess, and aggregates like cement residue and old carpet adhesive become absorbed into the surface.
A deep clean should address the majority of the issues; however, some of these aggregates may not be completely removable. Light resurfacing on some types of tiling is possible but should be undertaken with great caution to avoid eradicating colouring and detail.
Begin by protecting surrounding surfaces, wearing adequate PPE, and always performing a small test patch somewhere unobtrusive to ensure the tiles are not damaged.
Stage one:
A mild acid wash allows the solution to activate and work on the floor. It should begin to dissolve old waxes/polishes and building aggregates.
Working in small, manageable sections is best to avoid the solution drying up.
Stage Two:
The next method to employ is agitation. Simply Floor Cleaning uses a rotary scrubbing machine with adjustable weights. The weights allow pressure adjustments so that the scrubbing pad can be utilised to maximum capacity. A softer approach can be taken if the pattern or colours are delicate.
If you hire a machine for cleaning, a black pad should be sufficient for the heavier work. If you decide to do the cleaning by hand, we recommend a Doodlebug cleaning tool. You can apply more pressure with the tool than you will achieve by hand, and it saves your knees some.
Scrubbing the floor by machine or hand should remove the surface contaminants. However, as the tiles are porous, a wet vacuum cleaner to extract the resultant slurry will be a great help. If you remove the slurry without one, ensure you change the mop water regularly. This part of the process aims to lift the soiling off the vintage floor tiles.
Stage Three:
Once thoroughly cleaned, the floor should be rinsed several times with fresh water to neutralise any chemical residue.
At this point, you will need to apply some of that love I mentioned earlier. The floor now requires focus on the tiny details. This is always done by hand and may require more chemicals in small applications, a Stanley blade, and an unused black hand pad.
This stage is critical because it significantly affects the finished article. Skip it, and you will forever wish you had taken more time when you were in the thick of it.
I haven't mentioned repairs, but if you intend to fill holes, re-grout, or replace missing tiles, it should now be clear what is required. Make the repairs, clean up the repair mess once the grout is cured, and proceed to the next phase.
SIGN-UP - GET NEWS, TIPS AND DISCOUNTS
Stage Four:
Sealing the tiles is of the utmost importance to protect them against staining. There are many types of products, sealers, and polishes, but I'll simplify the choice to modern impregnating and surface sealers.
Impregnating sealers absorb into the tile and leave a more natural appearance. You can buy an enhancing sealer that also enhances and intensifies the colour. It's often helpful with faded tiles to add luster.
Topical sealers sit on the tile's surface and cure to a hard finish. This does protect more against dirt ingress, but the trade-off is that they often appear less natural. When applied in moderate applications, they can leave the floor with a slight satin finish that isn't unpleasant.
Whichever sealer option you prefer, read the instructions on the product packaging and follow the application instructions.

Good luck with your labours of love. If you require Professional Floor Cleaning advice, call 0800 1013105.
If you need a quote, simply upload some photos and the floor measurements into our Get A Quote form, and we will send you an estimate.